Core Workout for Women: 10 Moves for a Stronger Midsection
A 10-move core workout covering anti-extension, anti-rotation and flexion, with pelvic-floor-friendly options and a simple 4-week progression.
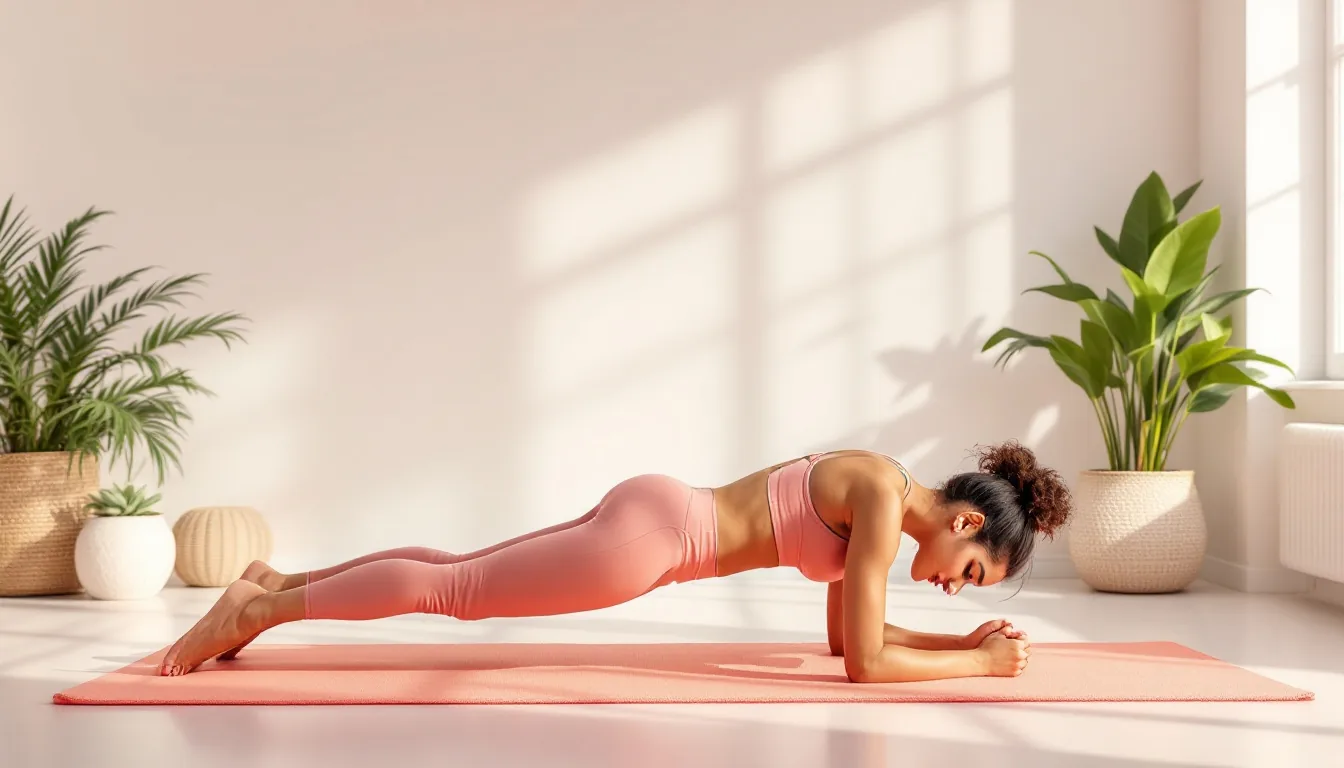
This core workout uses 10 moves to train your midsection the way it works in daily life: resisting arching, resisting twisting and curling forward. It’s built for beginners, needs little more than a mat, and includes pelvic-floor-friendly options if you’re returning to exercise or have had symptoms like leaking.
Visible abs depend on body fat
Core training makes your abs stronger. It doesn’t decide whether you can see them. That comes down to how much fat sits over the muscle, which depends on your overall body fat, not on how many crunches you do. In a six-week study, people who did ab exercises five days a week built more ab endurance but lost no belly fat compared with people who did nothing.
The Mayo Clinic puts it plainly: aerobic activity burns fat, while core exercises strengthen the muscles underneath. A strong core still pays off in better balance and easier everyday movement, and it may help ease back pain. A strong core doesn’t have to be a visible one.
How this workout is built
Your core includes your abs, obliques, lower back, hips and pelvic floor. Instead of 100 crunches, this plan covers four jobs:
- Anti-extension (stopping your lower back from arching): dead bug, plank, bear hold
- Anti-rotation (stopping your torso from twisting): bird dog, Pallof press
- Anti-side-bending: side plank, suitcase carry
- Flexion and hip extension: curl-up, reverse crunch, glute bridge
The workout
| Exercise | Sets | Reps or time | Rest |
|---|---|---|---|
| Dead bug | 2–3 | 6–10 each side | 30 sec |
| Forearm plank | 2–3 | 20–40 sec | 30 sec |
| Bear hold | 2–3 | 15–30 sec | 30 sec |
| Bird dog | 2–3 | 6–8 each side | 30 sec |
| Pallof press | 2–3 | 10 each side | 30 sec |
| Side plank | 2–3 | 15–30 sec each side | 30 sec |
| Suitcase carry | 2–3 | 30 sec each side | 30 sec |
| Curl-up | 2–3 | 8–10 | 30 sec |
| Reverse crunch | 2–3 | 8–12 | 30 sec |
| Glute bridge | 2–3 | 12–15 | 30 sec |
1. Dead bug
Lie on your back, arms pointing at the ceiling and knees bent above your hips. Lower one arm and the opposite leg toward the floor, then switch.
- Keep your lower back gently in contact with the floor.
- Exhale as you reach.
- Only go as low as you can without arching.
Easier: lower only a leg, tapping your heel to the floor. Harder: hold a light weight in your hands.
2. Forearm plank
Forearms on the floor, elbows under your shoulders, body in a straight line from head to heels.
- Squeeze your glutes and brace as if about to be poked in the stomach.
- Don’t let your hips sag or pike up.
- Breathe steadily.
Easier: plank from your knees or with hands on a bench. Harder: lift one foot at a time.
3. Bear hold
On hands and knees, lift your knees an inch off the floor and hold.
- Keep your back flat, like a tabletop.
- Hands under shoulders, knees under hips.
- Keep breathing.
Easier: hold for shorter sets. Harder: lift one hand at a time without shifting your hips.
4. Bird dog
From hands and knees, reach one arm forward and the opposite leg back, hold for two seconds, then switch.
- Keep your hips level.
- Reach long rather than high.
- Move slowly.
Easier: extend only a leg or only an arm. Harder: bring elbow and knee together under your body between reps.
5. Pallof press
Anchor a band at chest height to one side and stand side-on, holding it at your chest.
- Press your hands straight out and hold for two seconds.
- Keep your chest facing forward.
- Return slowly.
Easier: step closer to the anchor. Harder: step farther away. No band? Do slow plank shoulder taps.
6. Side plank
Lie on your side, elbow under shoulder, and lift your hips into a straight line.
- Stack your hips and shoulders.
- Push the floor away with your forearm.
- Keep your neck in line with your spine.
Easier: lift from your knees. Harder: raise your top leg.
7. Suitcase carry
Hold a dumbbell or a loaded bag in one hand and walk.
- Stand tall without leaning toward the weight.
- Keep your shoulders level.
- Walk slowly.
Easier: use less weight or march on the spot. Harder: go heavier.
8. Curl-up
Lie on your back with one knee bent and your hands under your lower back. Lift your head and shoulders just off the floor, hold for a few seconds, then lower.
- Keep your neck still and your chin slightly tucked.
- Lift only an inch or two.
- Exhale as you lift.
Easier: shorter holds. Harder: lift your elbows off the floor too.
9. Reverse crunch
Lie on your back, knees bent at 90 degrees above your hips. Curl your hips slightly off the floor, then lower.
- Use your abs, not momentum.
- Keep the lift small.
- Lower over two to three seconds.
Easier: just tilt your pelvis without lifting. Harder: pause at the top.
10. Glute bridge
Lie on your back, knees bent, feet flat. Push through your heels to lift your hips.
- Squeeze your glutes at the top.
- Keep your ribs down so your lower back doesn’t arch.
- Lower with control.
Easier: smaller range. Harder: single-leg bridge.
Pelvic-floor-friendly options
- Exhale on the effort and avoid holding your breath.
- Start with the gentlest moves: dead bug heel taps, bird dog, Pallof press, glute bridge and suitcase carry.
- Watch for leaking, a heavy or dragging feeling in your pelvis, or a ridge or dome along the middle of your belly. If you notice any of these, return to easier options and see a pelvic health physical therapist.
- If you have diastasis recti (abdominal separation), Cleveland Clinic advises avoiding moves that bulge the belly forward, including crunches, sit-ups and planks, until a physical therapist guides you.
- Add pelvic floor squeezes on other days. The NHS suggests squeezing quickly without pulling your tummy in, holding for 2 seconds and repeating 10 times, breathing normally.
If you’re pregnant or have recently given birth, check with your ob-gyn or midwife before starting core work.
How often and how to progress
Do this workout 2–3 times a week on non-consecutive days. It also works after a strength or cardio session.
Warm-up: 3–5 minutes of marching, cat-cow stretches and a few slow bird dogs. Cool-down: child’s pose, a gentle supine twist and slow breathing.
- Week 1: 2 sets, easier options, lower end of the reps or time.
- Week 2: 2 sets, standard versions.
- Week 3: 3 sets of each move.
- Week 4: 3 sets, adding 5–10 seconds to holds or trying one harder option per category.
FAQs
Can I target my lower abs?
Not really. In the ACE-commissioned study of 13 ab exercises, the average exerciser appeared unable to activate the upper and lower parts of the rectus abdominis separately. They work together as one muscle, so any move in this plan trains both.
Can I do this workout every day?
Two or three times a week is plenty for most people, alongside other training. On days in between, walking is a good way to stay active.
Sources
- Mayo Clinic: Core exercises: Why you should strengthen your core muscles
- Vispute et al. (2011), The effect of abdominal exercise on abdominal fat. Journal of Strength and Conditioning Research
- ACE FitnessMatters (2001): New Study Puts the Crunch on Ineffective Ab Exercises
- Cleveland Clinic: Diastasis Recti
- NHS: 10 ways to stop leaks (pelvic floor exercises)
General information only, not medical advice. Stop if you feel pain, dizziness or shortness of breath, and check with a health professional before starting if you have any concerns.